Select
The Select Item allows your persona to guide users in choosing from a structured list of options—like jobs, apartments, investors, or any other large dataset—especially when they don’t yet know exactly what they’re looking for.
Rather than expecting a perfect question from the user, Select provides an intuitive, search-and-browse experience. It supports filtering, dynamic data sourcing, and optional confirmation, making it ideal for discovery-driven workflows such as exploring open roles, booking services, or shortlisting partners.
Use it when you want to help users actively explore and choose from a dataset—whether that’s booking a service, applying to multiple jobs, or browsing rental options. It supports filtering, confirmation, and dynamic presentation of records, and can pull data from previously generated outputs, knowledge bases, or API results. This makes it ideal for scenarios involving ambiguity, discovery, or large search spaces.
When to Use Select
Use the Select Item when your agenda includes a decision point where the user needs to choose from a list of structured options—especially when that list is long or depends on user preferences.
Perfect for scenarios like:
-
A user browsing open job listings based on their interests
-
Helping someone explore available apartments in a city
-
Letting a founder shortlist relevant investors
-
Choosing among service providers, vendors, or options from an API
If your dataset is small (fewer than 5 options), a simpler Gather item may be better suited.
How to Set Up
1. Add the Select Item
Navigate to My Persona → Agenda.
Click + Add Item, then select Select from the list of agenda item types.
2. Configuration Section
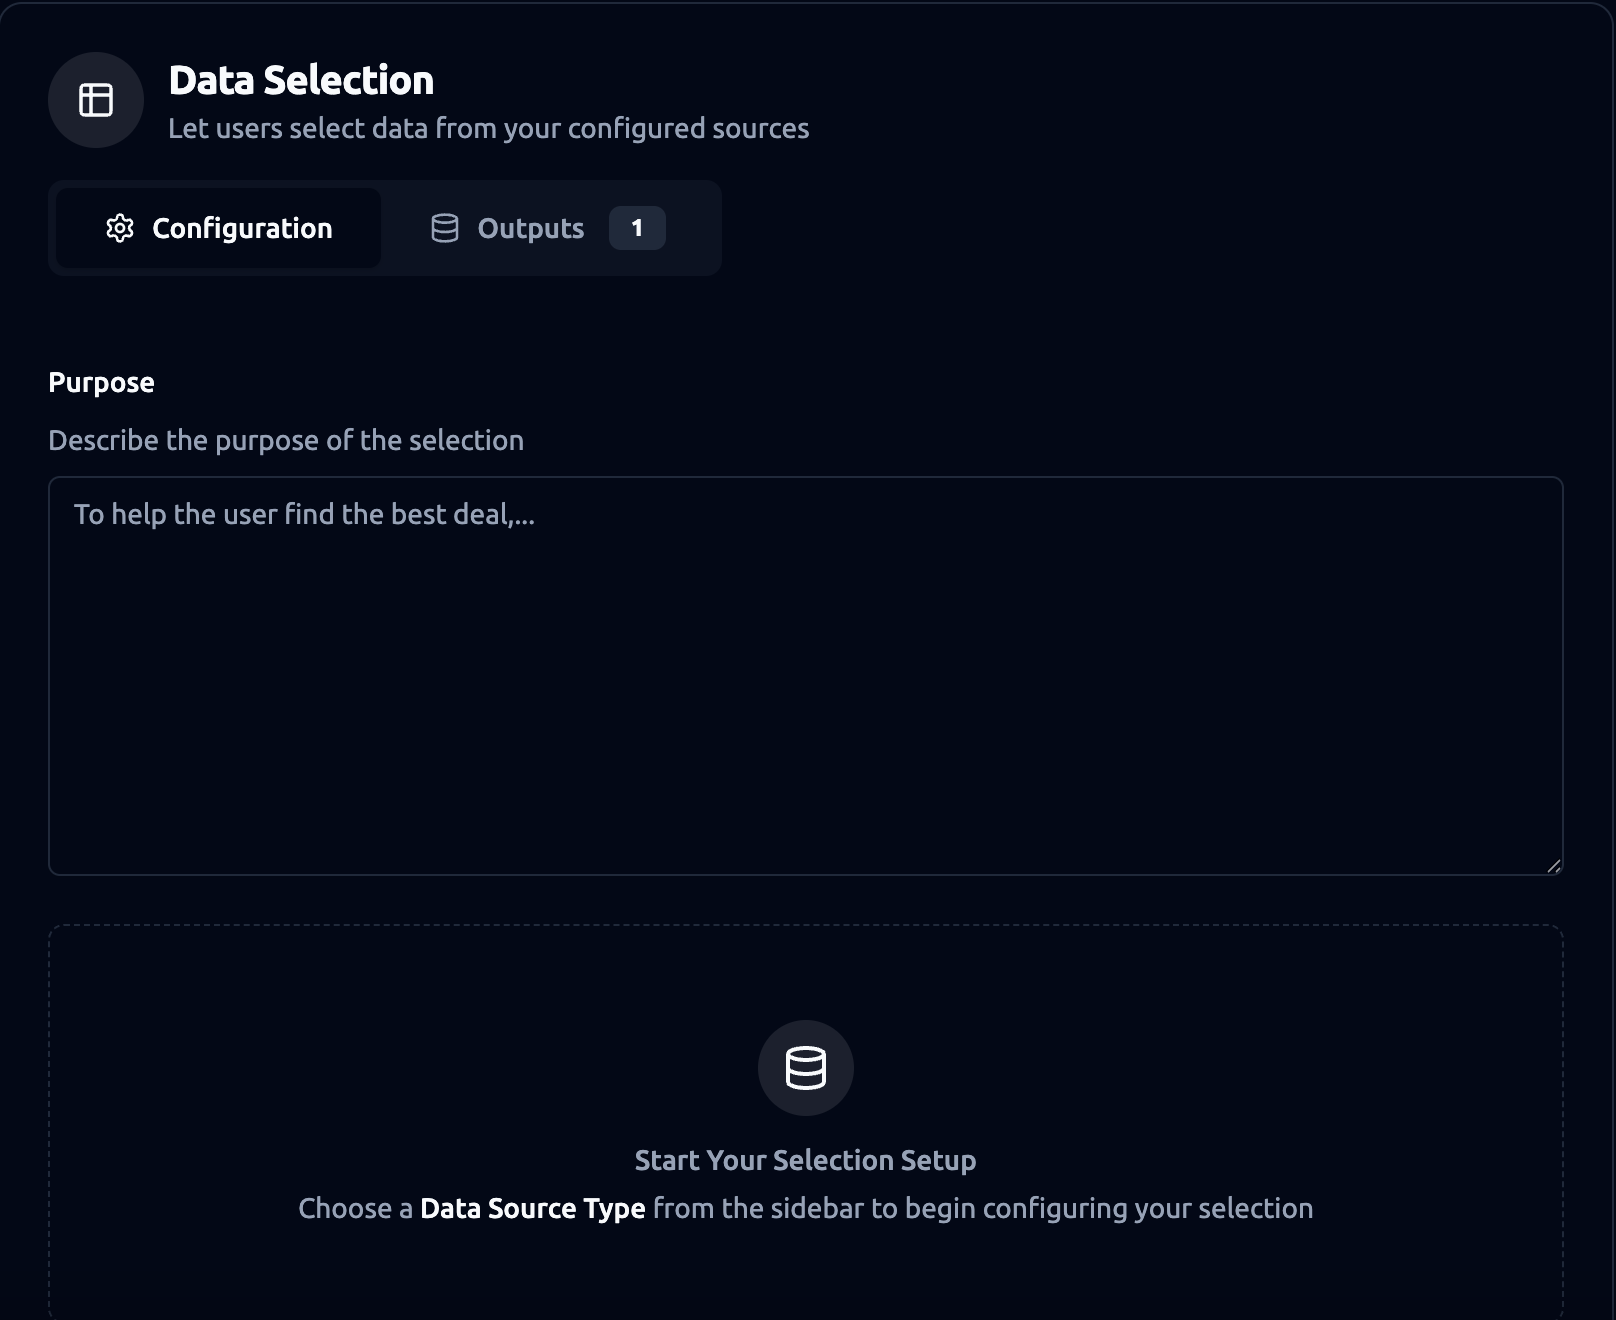
Purpose (Optional)
Describe the goal of this selection step. This helps the persona understand the context and guide the user effectively.
Example: “To help the user find the best deal by exploring options and narrowing them down together.”
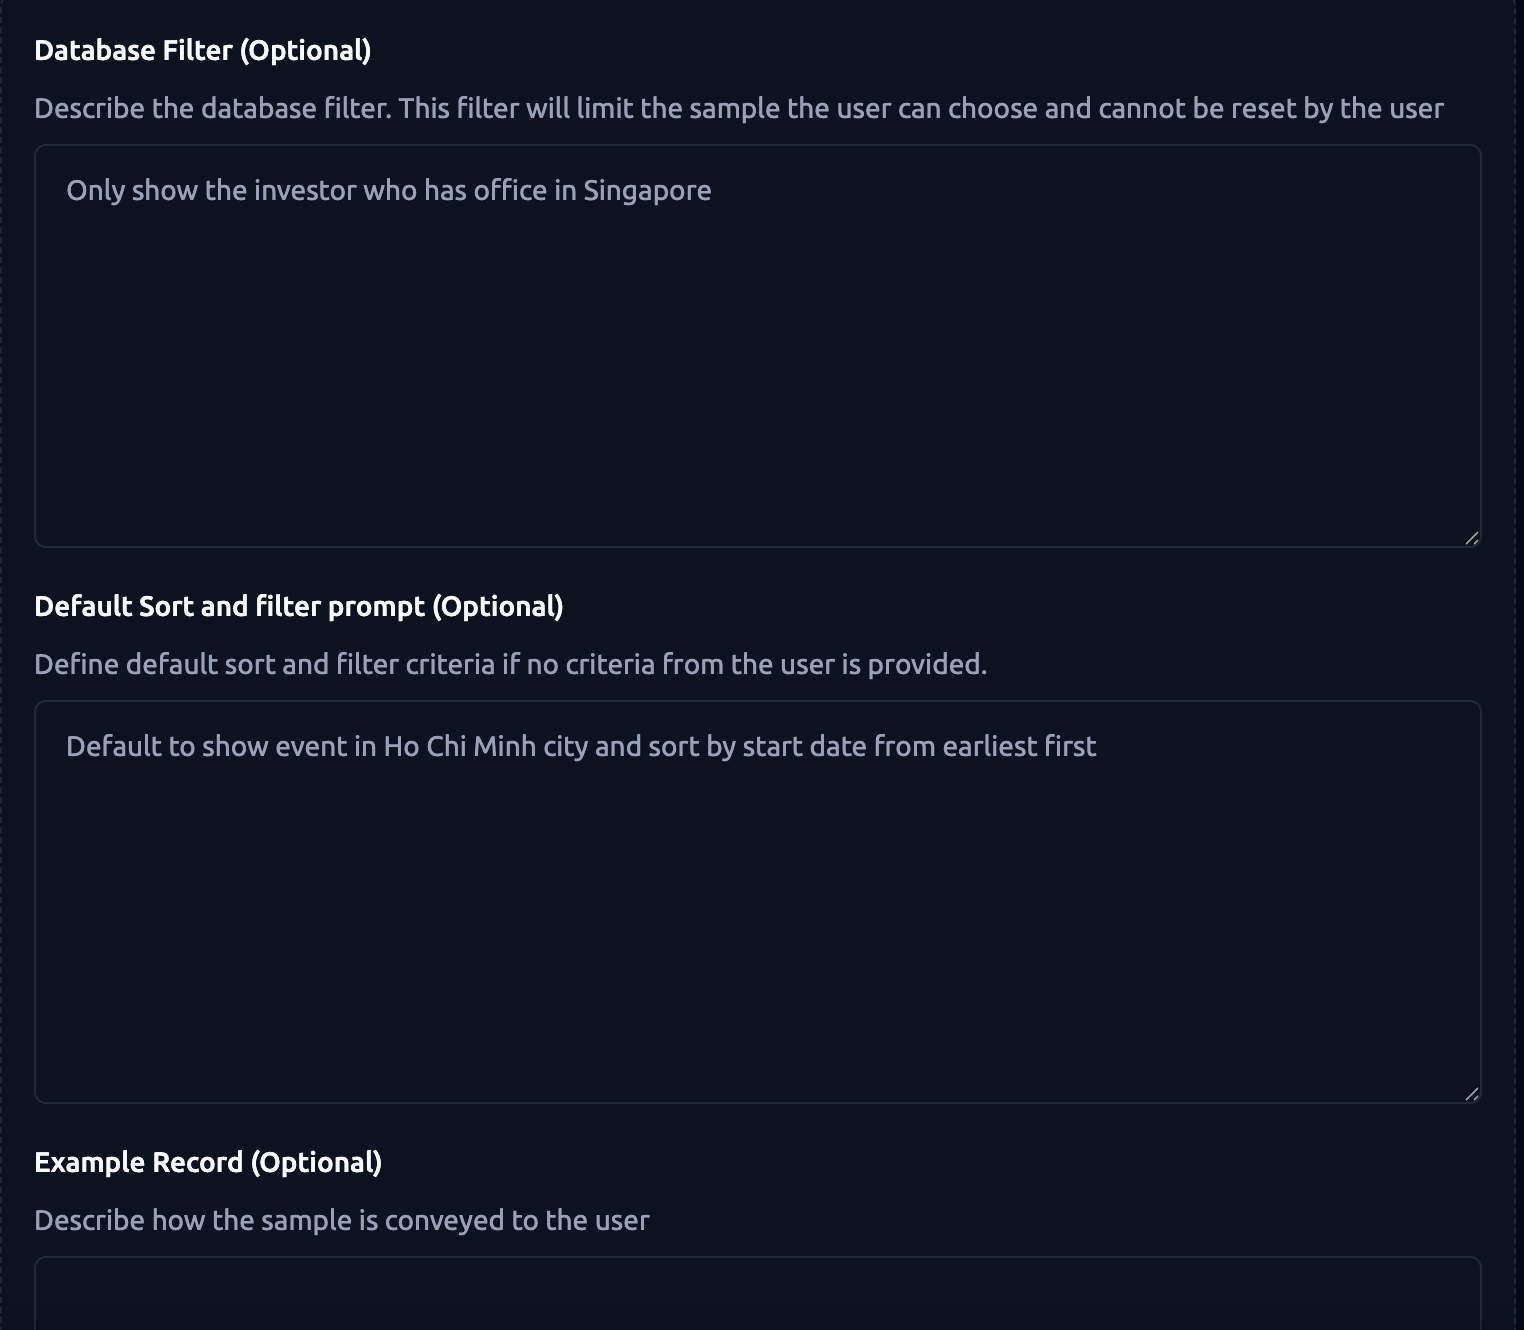
Database Filter (Optional)
Apply a fixed filter to the data source. This permanently limits what’s shown and cannot be reset by the user.
Example: “Only show investors who have offices in Singapore.”
This is useful for compliance, geography, or data segmentation.
Default Sort and Filter Prompt (Optional)
Set a default sorting or filtering rule when the user hasn’t yet provided criteria.
Example: “Default to show events in Ho Chi Minh City and sort by start date from earliest first.”
Example Record (Optional)
Describe how to display each sample record to the user. Focus on key details.
Example: “Show only the investor’s name and a concise one-sentence description.”
This makes the results are scannable and avoids overwhelming the user.
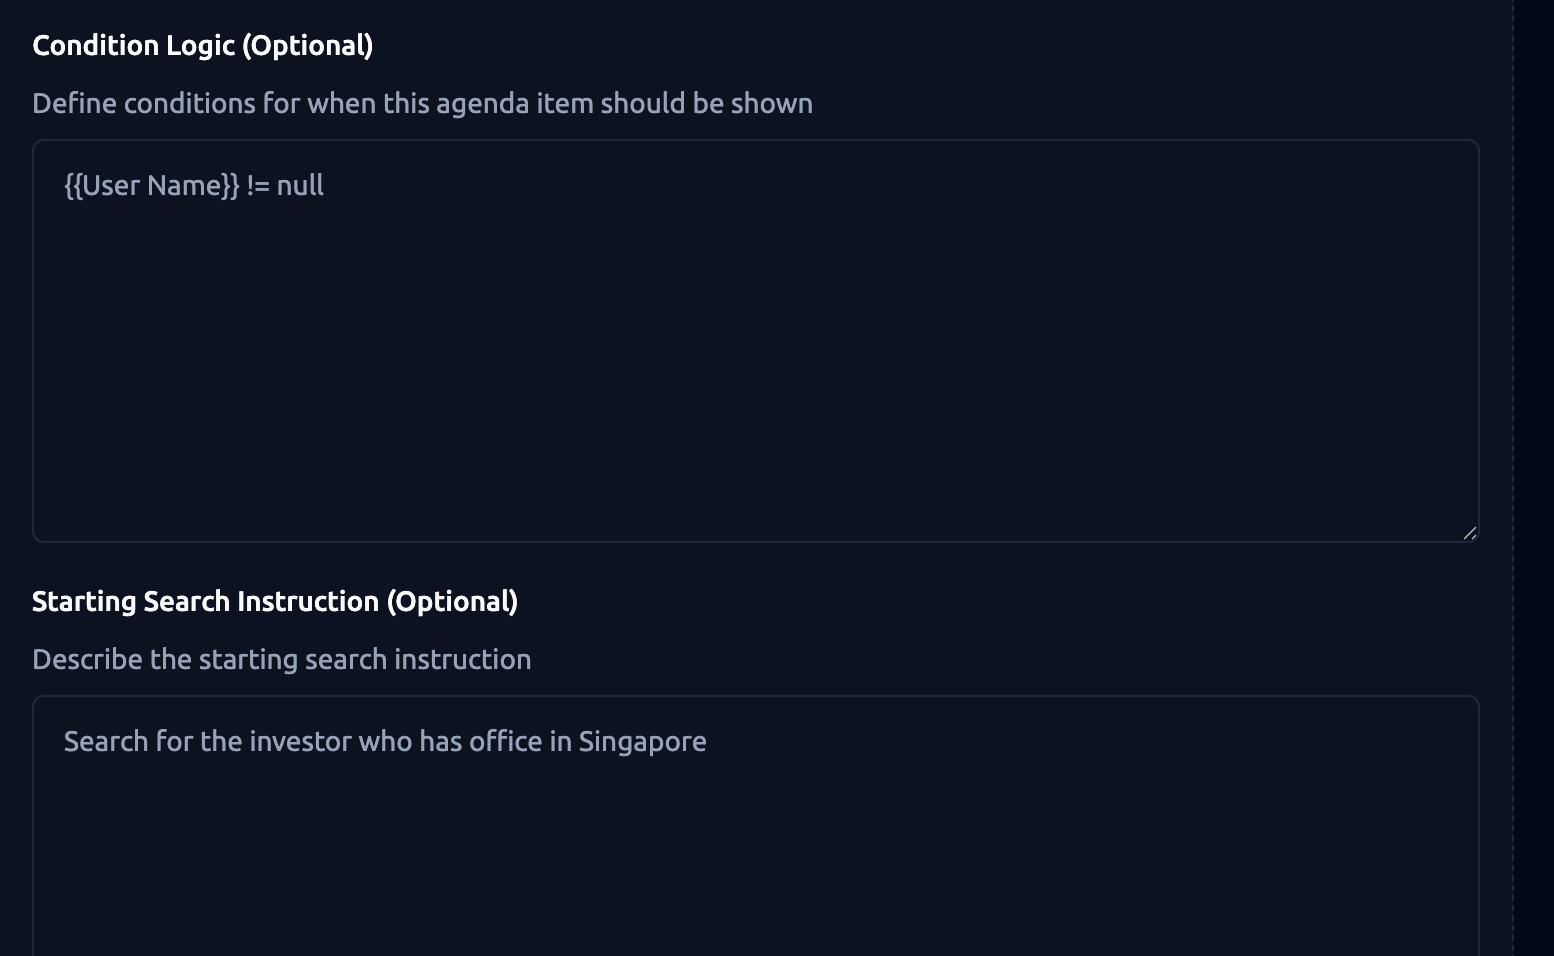
Condition Logic (Optional)
Define when this Select item should appear. You can base it on previous inputs or system variables.
Example:
{User Name} != null
or
user.intent == “investor_intro”
This ensures the item only appears when relevant.
Starting Search Instruction (Optional)
Provide an opening prompt that tells the user how to begin searching.
Example: “Search for the investor who has an office in Singapore.”
This helps users understand what kind of input or query they can try.
3. Basic Settings

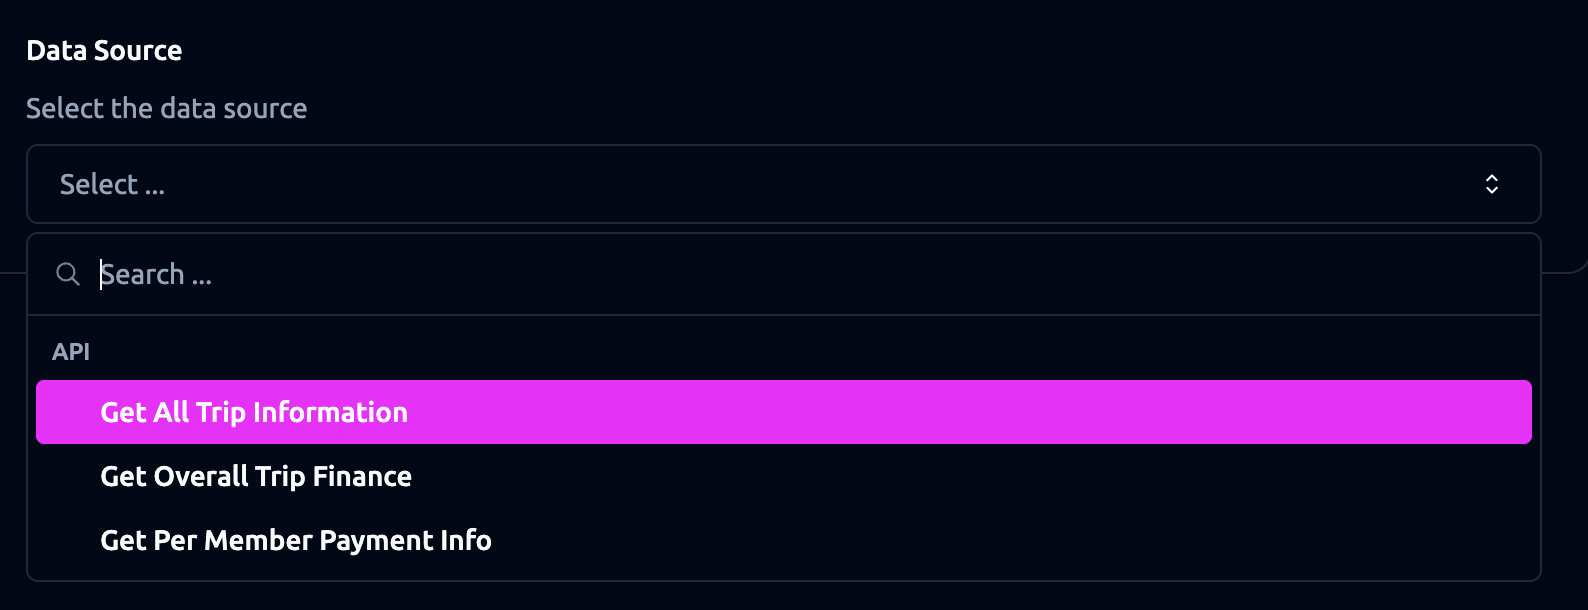
Data Source Type (Required)
Select where your data comes from:
-
Knowledge — Pulls data from structured sources like Airtable, Google Sheets, CSV, or Excel.
-
API — Uses data returned from a previous API items (if available).
-
Outputs — Reuses list-based outputs generated by earlier agenda items.
ℹ️ Only structured list or table data (Airtable, Google Sheets, CSV, and Excel files) is supported (rows/records with fields). Other sources, such as websites, PDFs, or Google Docs, are not compatible, even if they contain tables.
Once you select a data source type, the system automatically retrieves and displays the tables or datasets available within that source. From the list of available tables, select the one you want to use.
Select Mode (Required)
Choose how many items a user can select:
-
Single: User selects one option (e.g., one apartment or one investor).
-
Multiple: User selects multiple items (e.g., “Top 3 job listings”).
4. Advanced Settings
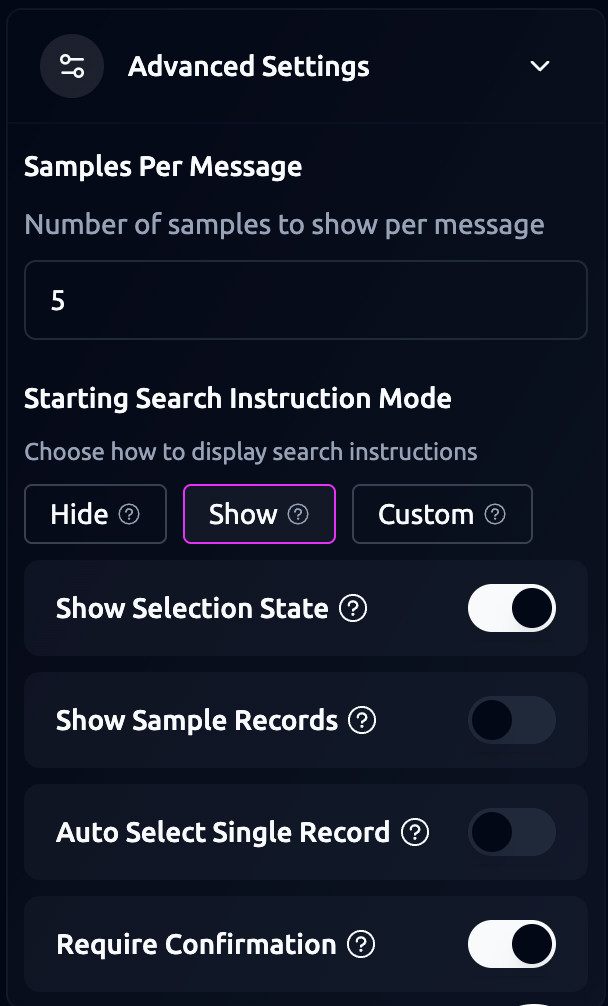
Samples Per Message
Set how many results appear in each message or list segment. Default: 5 items per message. For example, setting this to 3 means that each message will show up to three items before loading or continuing to the next batch
Starting Search Instruction Mode
Choose how to display the search instruction:
-
Hide: Instructions won’t appear in starting messages.
-
Show: Default instructions shown in starting messages.
-
Custom: Write and customize instructions that will replace the default ones.
Example: Custom instruction: “Search for your recent trips by typing a destination.”
Show Selection State
Toggle this on to visually display selection state at start. When enabled, this setting visually displays the selection state of records.
Show Sample Records
Toggle this on to immediately display example records at start. When enabled, the system automatically displays example records when the user first starts the session.
Auto Select Single Record
When only one item matches the filters, automatically select it for the user. Turn this on so that when only one result is found, it’s pre-selected so the user doesn’t have to manually click it.
Require Confirmation
Toggle this on if you want users to confirm their selection before it’s finalized.
Example Configurations
Use Case: Investor Selection (Multiple)
-
Purpose: To help the user find the best deal by exploring options and narrowing them down together.
-
Database Filter: Only show investors who have offices in Singapore.
-
Default Sort/Filter: Show FinTech-focused investors first.
-
Convey Prompt: Show name, stage, and investment focus.
-
Require Confirmation: On.
Tips
- If users may want to choose more than one item (e.g., “Select your top 3 preferred job listings”), use Multiple selection mode instead of Single.
- If your data includes many fields (e.g., 15+ columns), use the Filter Prompt or Convey Prompt to only show key info (e.g., Name, Location, Role)
- If your Select Item pulls data from an earlier agenda step, double-check the outputs first to make sure they are correctly mapped.