Contact
The Contact agenda item allows the persona to reach out to users — by phone, email — while capturing useful data and triggering actions afterwards. In other words, it gives the persona the ability to briefly step outside of the current conversation, have a short interaction with a third party on your behalf, and then return with the results and feed them back into the agenda.
For example, imagine you are running an agenda where, at some point, you need the persona to step outside and talk to a third party on your behalf — you can use the Contact item to: Make a restaurant reservation. If your user wants dinner at 7 p.m., the persona can contact the restaurant, reserve a table, and then pass the confirmation back into the agenda conversation. Call or email an external vendor to book a service appointment. Suppose your user asks for a car repair appointment. The persona can call the shop, confirm available times, and then return to your agenda with the appointment details. Initiate a mock sales call with an employee. If you’re training your staff, the persona can call one of your employees, follow a practice sales script, and then log the interaction for review.
The Contact item lets you set a persona role, choose contact methods, and define what to request from the user. It tries the highest-priority method first (like phone), then moves to the next if that fails (like email). During contact, it collects information by asking the questions directly or inferring answers naturally during the conversation. After the persona completes the contact, you can decide what should happen next. For example, you can log all outbound calls into a Google Sheet, send a summary email to your user so they know what the third party said, store the results in a database of your choice for reporting or future reference. This is similar to the completion actions you can set in a normal agenda [see more] - the difference here is that the follow-up happens right after the contact.
How to set up
1. Configuration
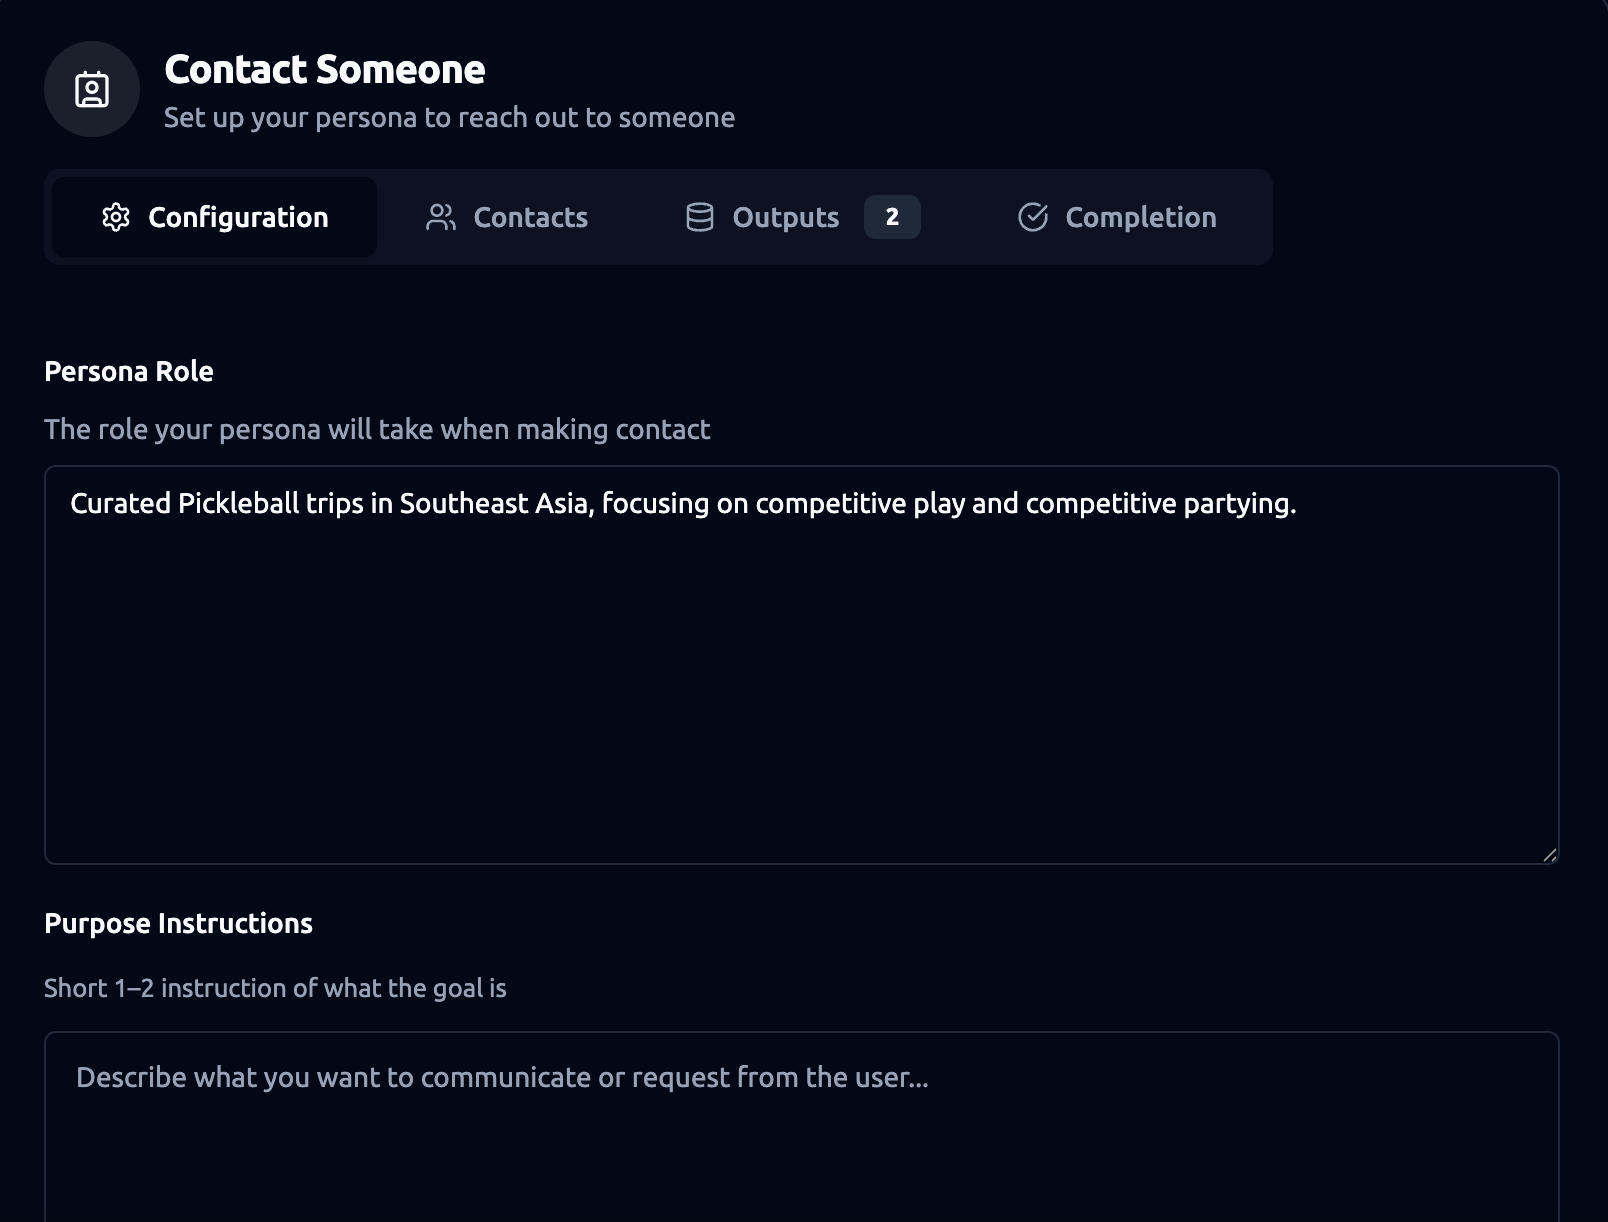
Persona Role
The Persona Role defines who the automated contact is acting as. This sets the tone and context of the interaction. The persona role gives the persona a clear identity during the interaction. It’s also important to note that the Contact persona role can be different from the main persona role in Basic Settings. The main persona might be defined as a general assistant, but for this specific contact you may want it to act as something more specific — for example, a sales assistant, a scheduler, or a customer support representative. This flexibility ensures the persona presents itself in the most appropriate way for the task at hand.
By default, the persona role will inherit from the main persona role defined in Basic Settings, so you only need to change it here if you want this contact task to use a different role.
Tip: Keep it short but informative. Mention the company, industry and key services. Write as if you are introducing the assistant to a new customer. Example: “You are SwiftFix IT Support Assistant, an assistant for SwiftFix IT, a team that provides 24/7 technical support, network troubleshooting, and cybersecurity services for small businesses.”
Goal / Purpose
The Goal prompt is what you want to accomplish in 1-2 sentences. It answers the question: “Why are you contacting the third-party?”. This is where you tell the system the purpose of the contact in an instruction style. The model will then generate the actual goals/ purposed for the interaction based on this instruction and the information shared by the user. Basically, the prompt should be short, instructional and as specific as possible. The persona will use it as guidance to handle the conversation. Example: You can put a goal prompt for “Write an inspection and repair request to the maintenance service for the user’s issue.” During your agenda, you have a user named David whose Wi-Fi has stopped working. When the agenda runs, the AI understands the purpose is to get David’s Wi-Fi fixed. It will then handle the contact (by phone or email) and return with the outcome.
Conversation Steps
Conversation Steps are the step-by-step instructions for how your persona should run the call. This is your script or playbook.
Example: The SwiftFix IT Mock Call 2025
- Introduction & Rapport
- Start with a professional but friendly greeting, introducing yourself as the SwiftFix IT Support Assistant.
- Explain that this is a scheduled test call to check the company’s remote support line and voice clarity.
- Confirm Participation
- Ask the tester to confirm their availability to complete the short test.
- Reassure them it will take less than 5 minutes.
- Run Audio and Script Check
- Ask the tester to repeat a standard phrase (“This is a SwiftFix test call”) to verify microphone and audio quality.
- Note clarity, background noise, and connection stability.
- Capture Key Data Points
- Collect the tester’s name, department, device type, and primary contact number.
- Log whether the connection passed or failed the audio test.
- Close & Next Steps
- Thank the tester for their time and confirm results have been logged.
- Explain possible outcomes: if the test passes, no further action is required; if it fails, IT will follow up with troubleshooting instructions.
The mock call should remain under 5 minutes, follow IT compliance standards, and adapt if the tester reports unexpected issues. Optional follow-up questions can cover device age, internet connection type, or past IT ticket history.
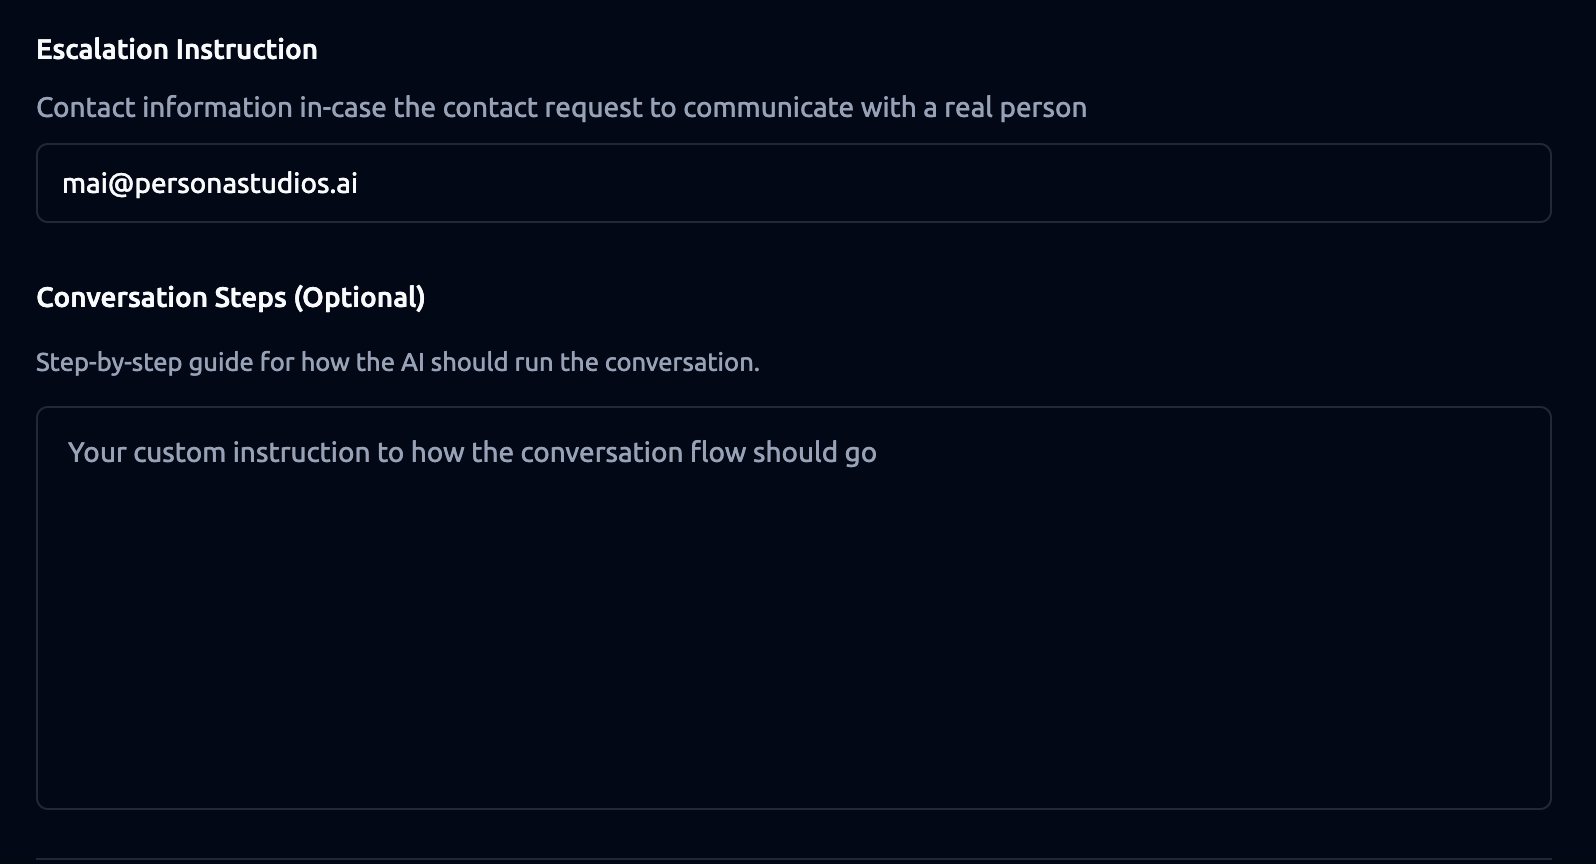
Escalation Instructions
Escalation instructions tell the persona what to do if the automated contact can’t fully resolve the issue or if the third party asks to speak with a human. Think of this as your backup plan — it ensures the conversation doesn’t just stop, but instead provides a clear next step even when the persona cannot finish the task on its own.
With escalation instructions, you can provide the AI with fallback options such as “Call us at XXX-XXX-XXXX.”, “Message us on WhatsApp at XXX-XXX-XXXX.”, “Email us at contact@company.com.” or any other way you want the third party to reach a human if needed.
Example: If David’s Wi-Fi repair request can’t be scheduled automatically, the AI might say: “If you need further assistance, please call our support team at 555-123-4567 or email us at support@company.com.”
Data outputs
Data Outputs are the exact pieces of information you want your persona to collect from the user. They become Asked Outputs automatically.
Examples: “name, service date, confirmation status, preferred time.”
Advanced Settings
These options appear when you switch from Basic to Advanced by clicking the toggle on the right. They allow you to refine when the contact should run, personalize the interaction with context, and add custom instructions for more control. Most users will only need the Basic settings, but Advanced is available if you want to go deeper.
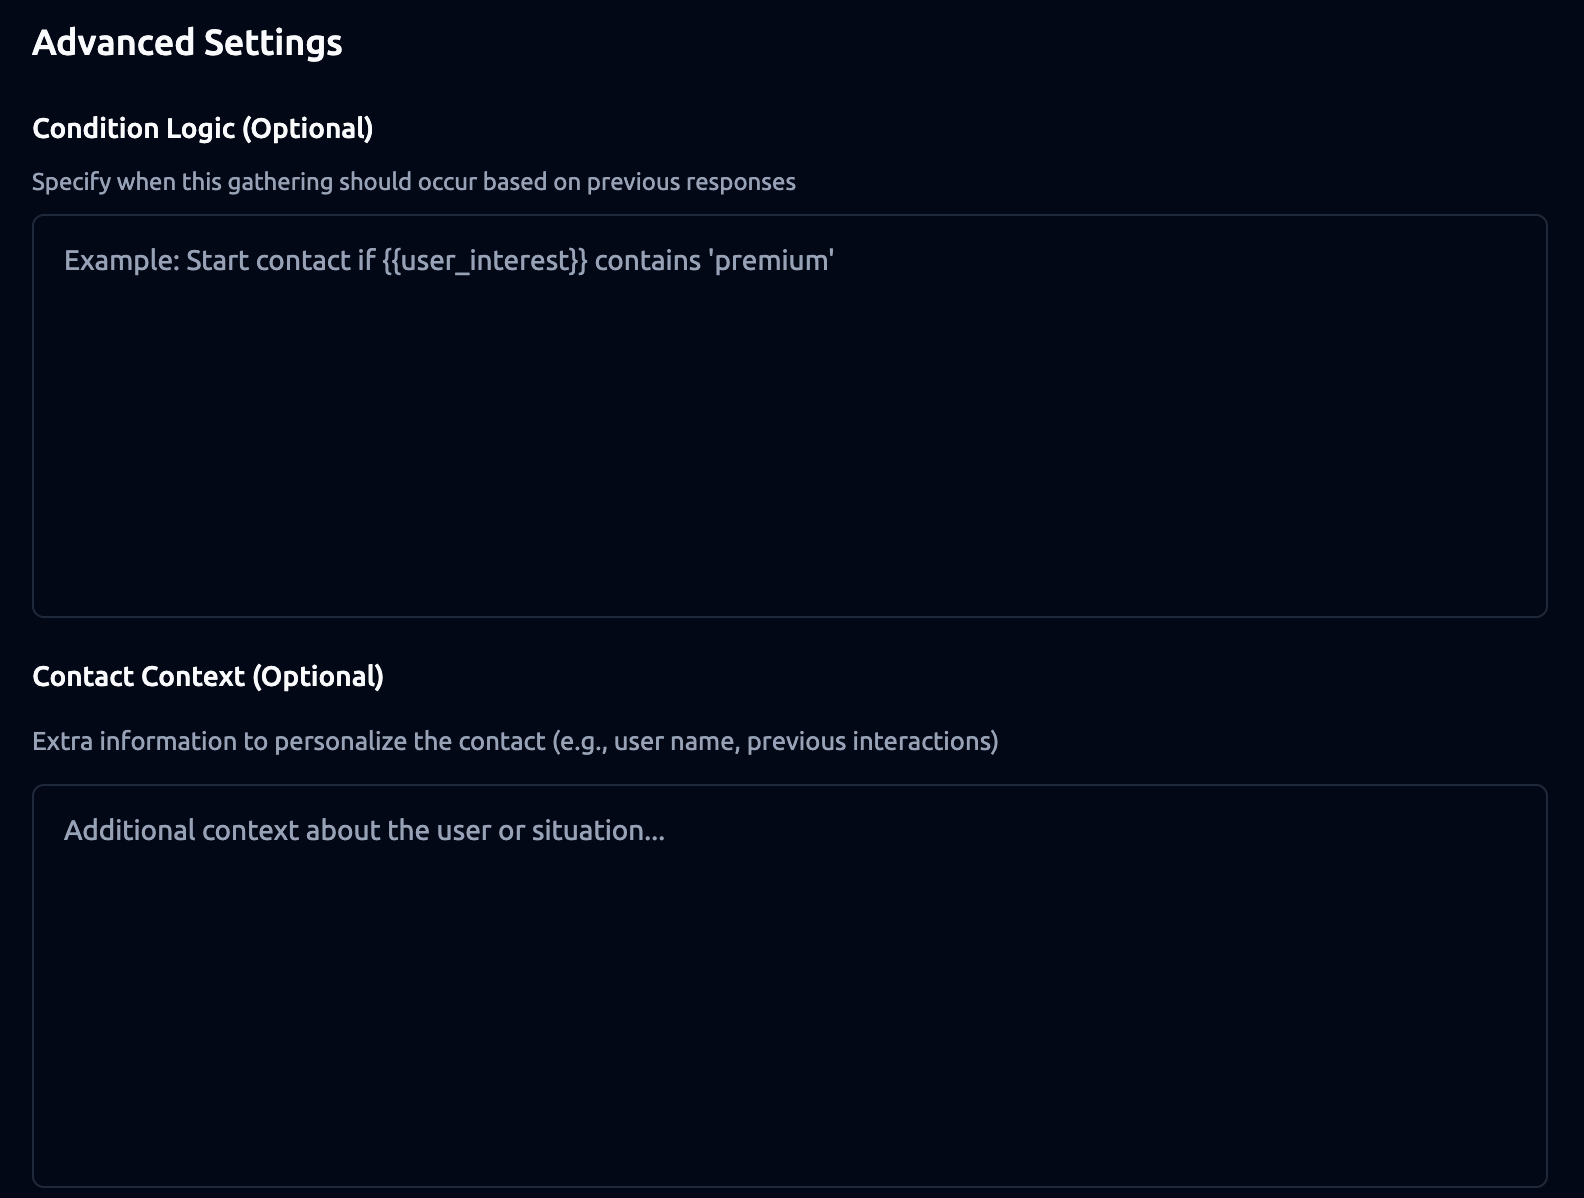
Condition Logic (Optional)
These are rules you can set to decide whether the contact should start, based on previous responses or data.
Examples: “Start contact if subscription status = active.”
Contact Context (Optional)
The Contact Context field lets you provide extra background information that the persona can use to personalize the call or email. This is where you “import” any data that has already been collected in the agenda — for example, the user’s {user_name}, {user_location}, or any other {output fields} that the third party should know during the conversation.
During a contact, your persona does not have access to its full knowledge base. That means if the third party asks questions like “Who is this for?” or “Where should the service be scheduled?”, the persona won’t automatically know the answers unless you provide them here. The Contact Context ensures the persona has the right information at hand.
Examples:
- “This request is for
{user_name}, who lives at{user_address}.” - “The user’s Wi-Fi has been down since
{issue_start_date}; they need a repair appointment.” - “This is a reservation for
{reservation_party_size}people at{reservation_time}on{reservation_date}, under the name{user_name}.”
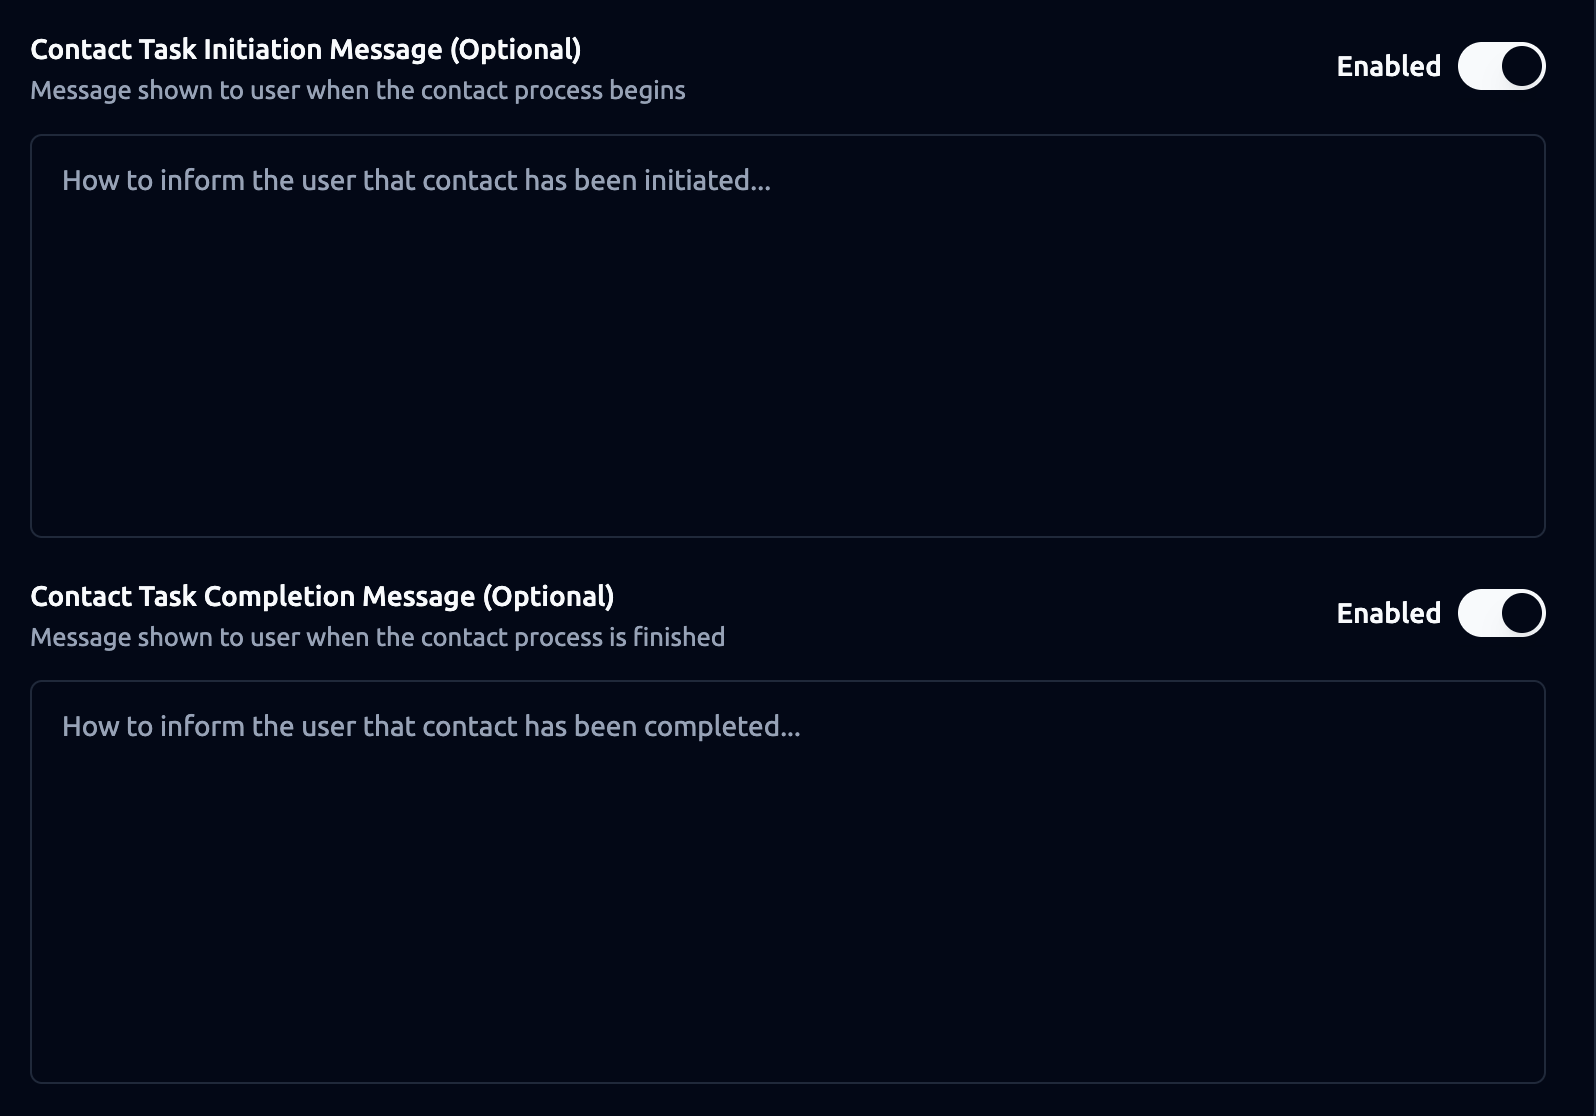
Contact Task Initiation Message (Optional)
This is the message shown when the contact begins, so the user knows what’s happening. This setting is optional. You can enable it by switching on the toggle.
Examples: “This is a SwiftFix IT test call. Please respond so we can confirm your setup.”
Contact Task Completion Message (Optional)
This is the message shown when the contact ends, confirming the outcome for the user. This setting is optional. You can enable it by switching on the toggle.
Examples: “Test call complete. Please report any issues to IT.”
2. Contacts
The Contacts tab defines how the system reaches your users. You can set up multiple methods (phone, email) in order of priority.
How it works:
- The system first attempts the highest-priority method.
- If it fails, it retries based on your rules.
- If still unsuccessful, it moves to the next method.
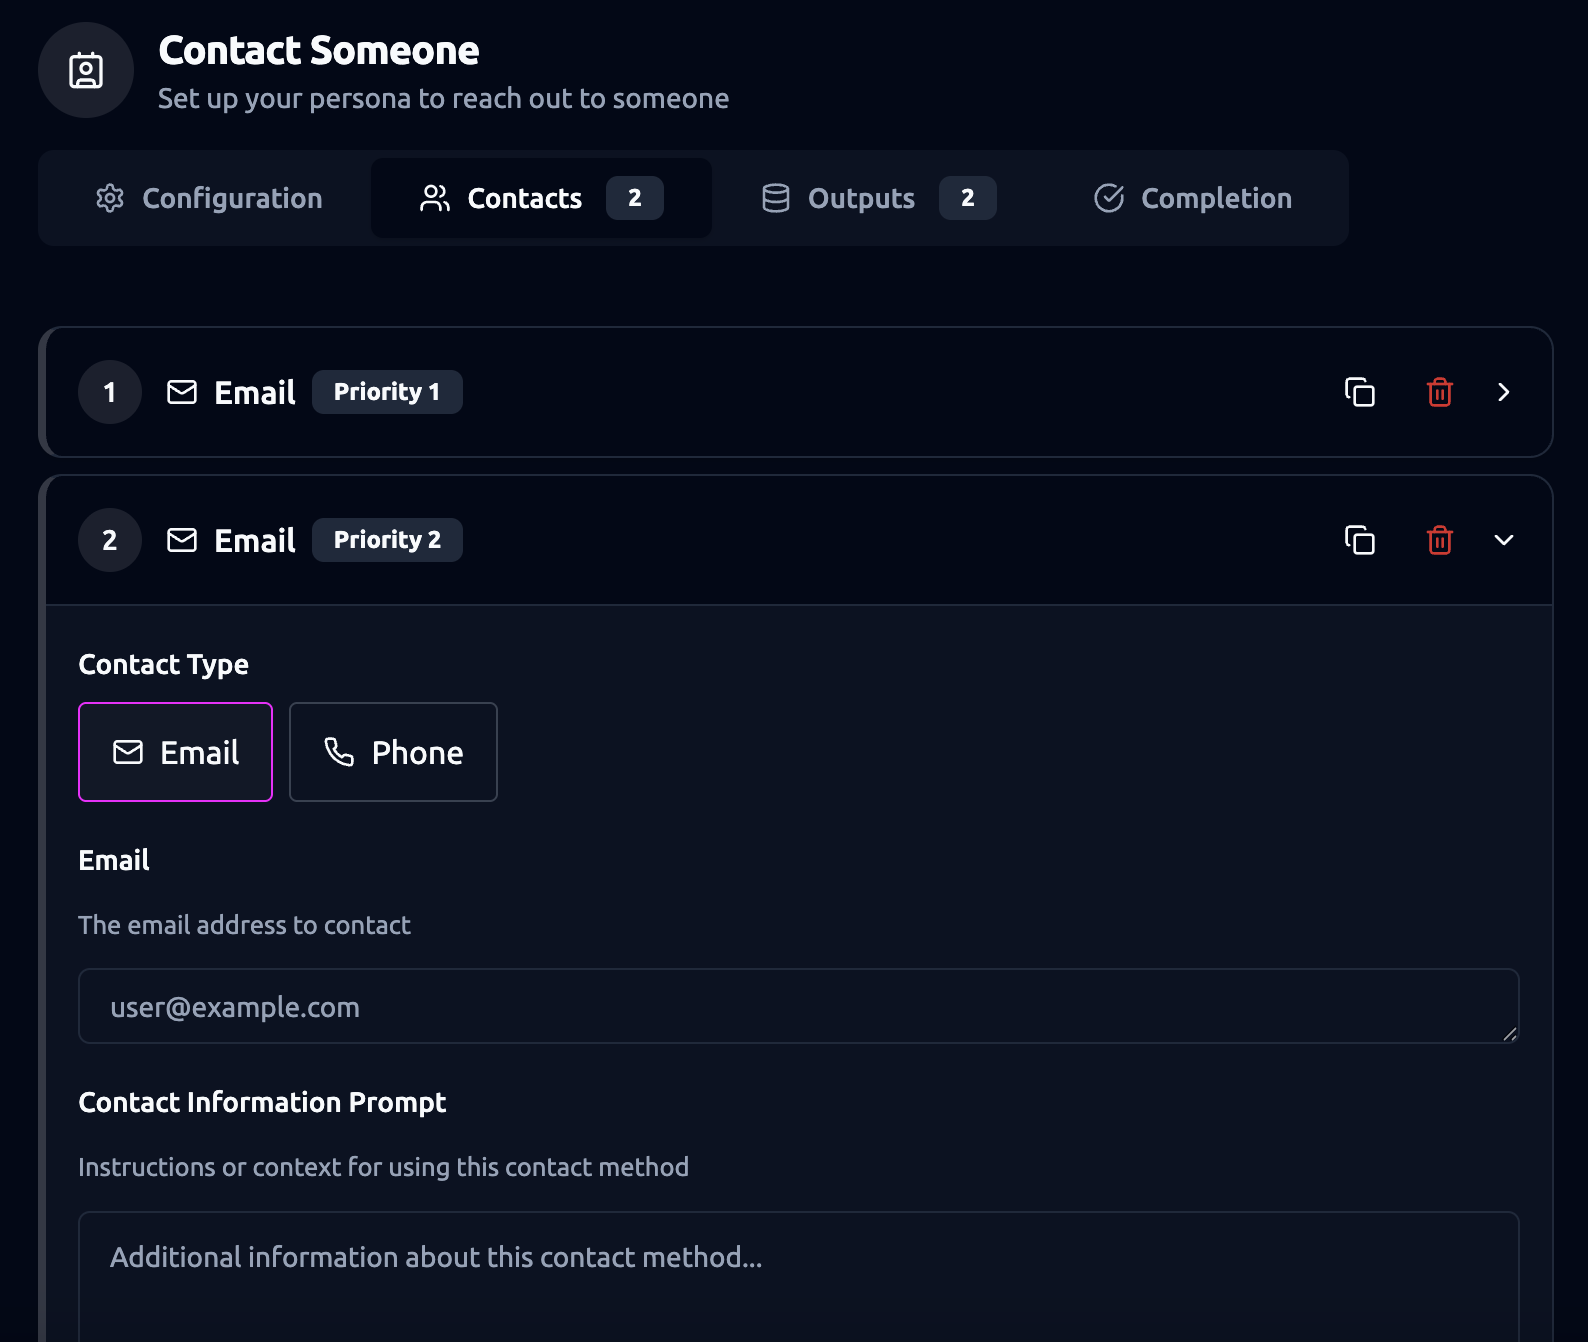
Key Fields:
- Contact Type: Choose Phone or Email.
- Priority Order: The system tries Priority 1 first, then Priority 2, and so on.
- Email/Phone Input: Enter the email address or phone number.
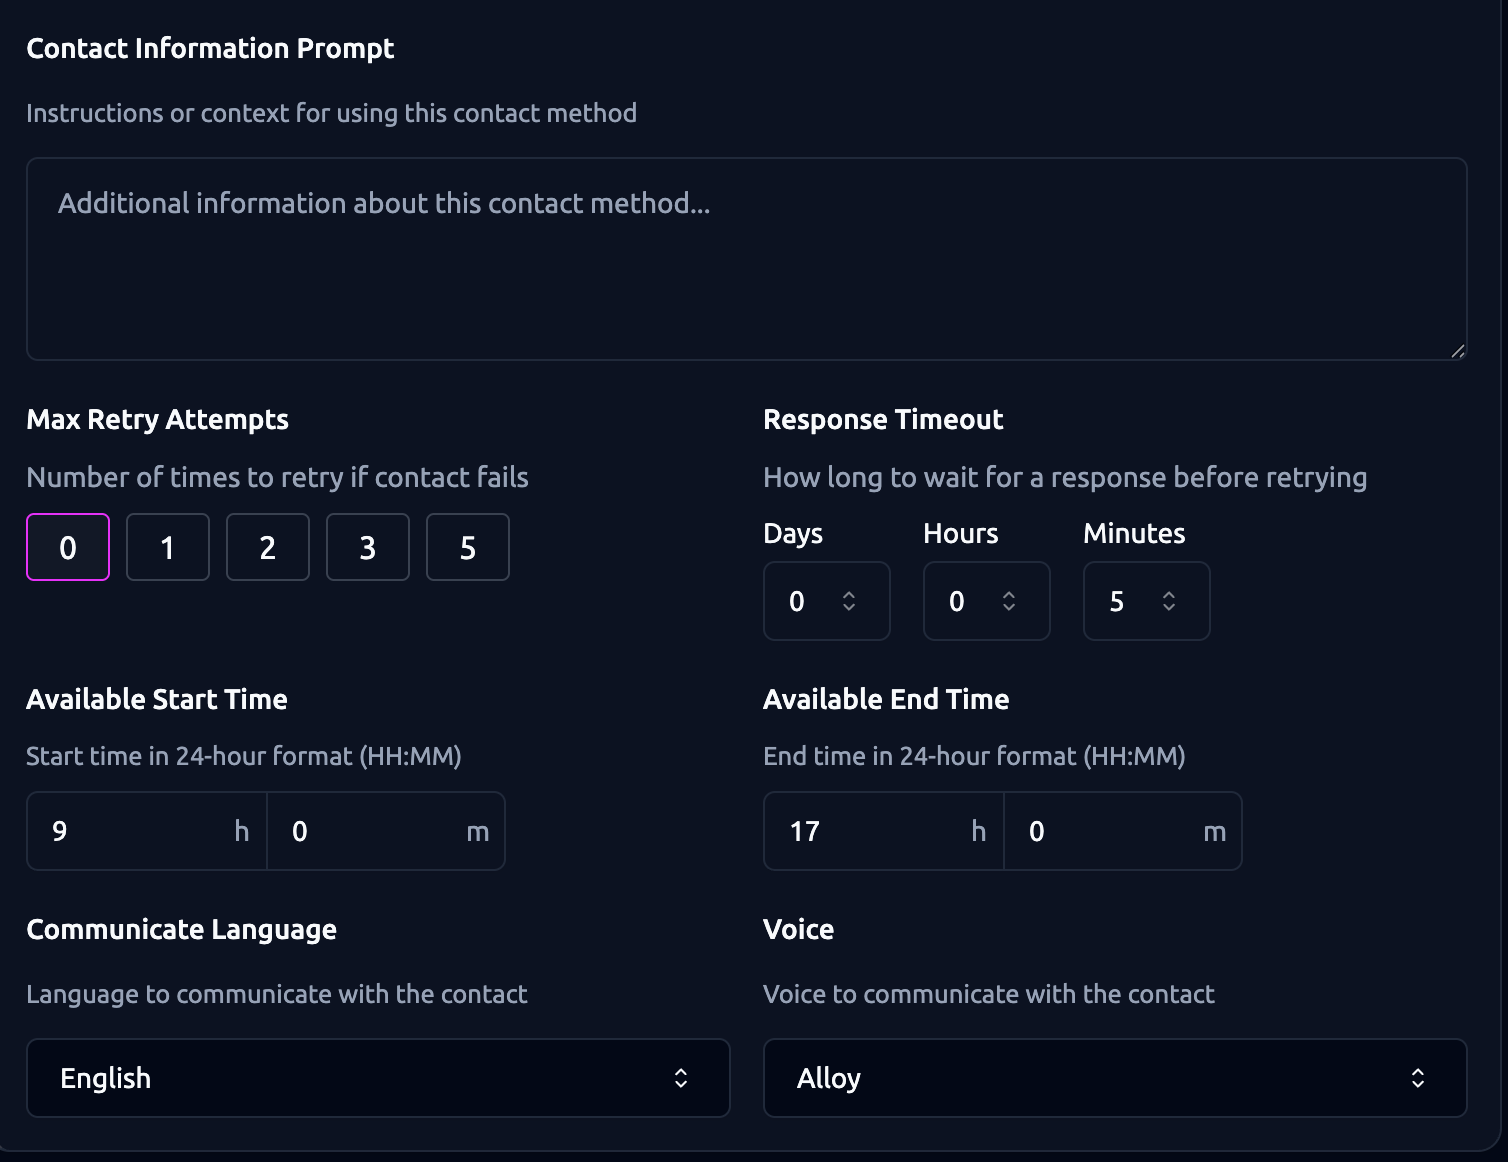
- Contact Information Prompt: Add usage notes (e.g., “Only call this number during business hours”).
- Max Retry Attempts: Choose how many times to retry if contact fails (0, 1, 2, 3, 5).
- Response Timeout: How long to wait before retrying (set in minutes, hours, or days).
- Available Time Window: Define start/end times (e.g., 9:00-17:00).
- Language: Choose the language for this contact method.
Examples: Service Provider: Try calling the customer at 555-555-5555 (Priority 1). If no answer within 5 minutes, send confirmation email to user@example.com (Priority 2).
3. Outputs
The Outputs tab defines what data is captured during and after the call. This ensures you not only log the conversation, but also extract structured information.
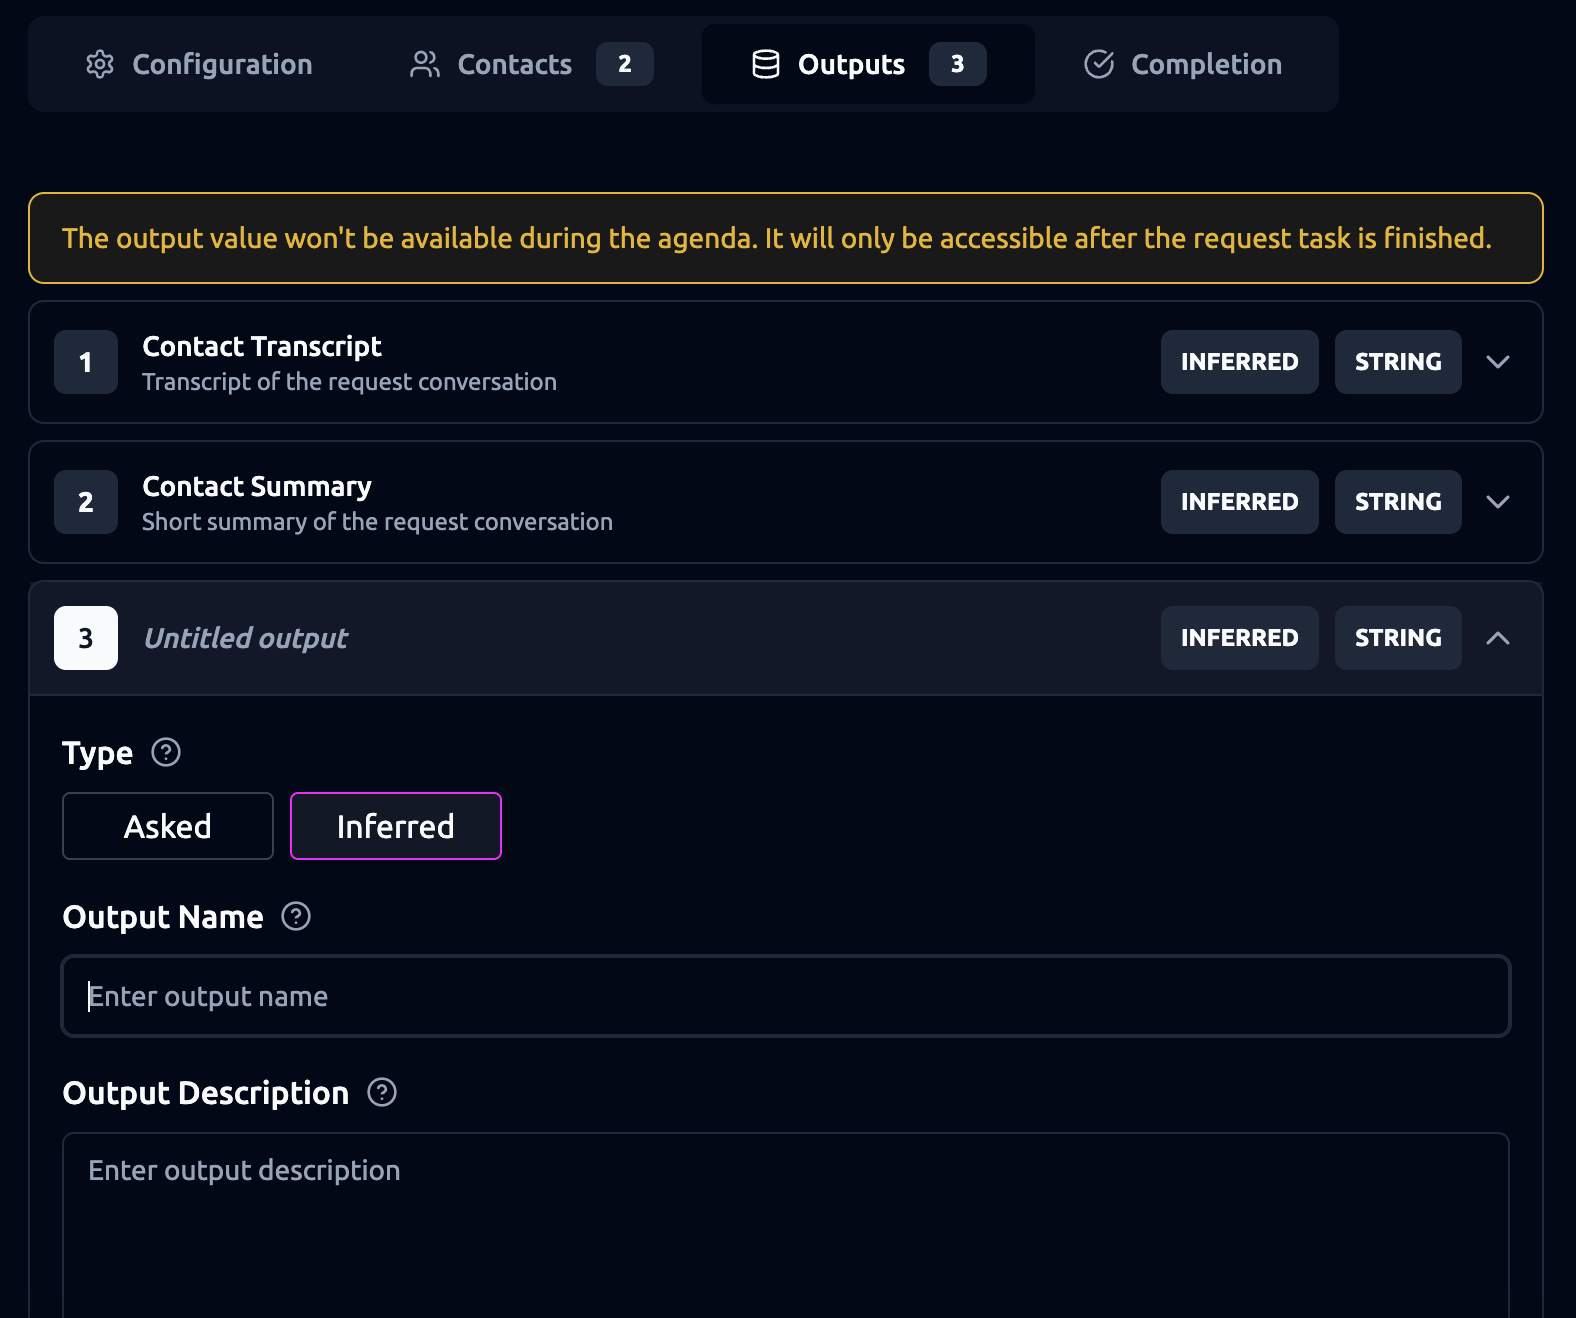
Default Outputs
- Transcript - a full record of the conversation.
- Summary - a short recap.
Custom Outputs
You can add your own, like “tech name” or “preferred meeting time.”
- Asked outputs come from explicit questions.
- Inferred outputs come from context.
Note: Outputs are only available after the session ends.
Examples: For Service Provider:
- Asked outputs = customer name, service date, insurance provider.
- Inferred outputs = urgency level (high/low).
4. Completion
The Completion tab defines what happens after the contact session finishes. You can automatically send notifications or push data into other systems.
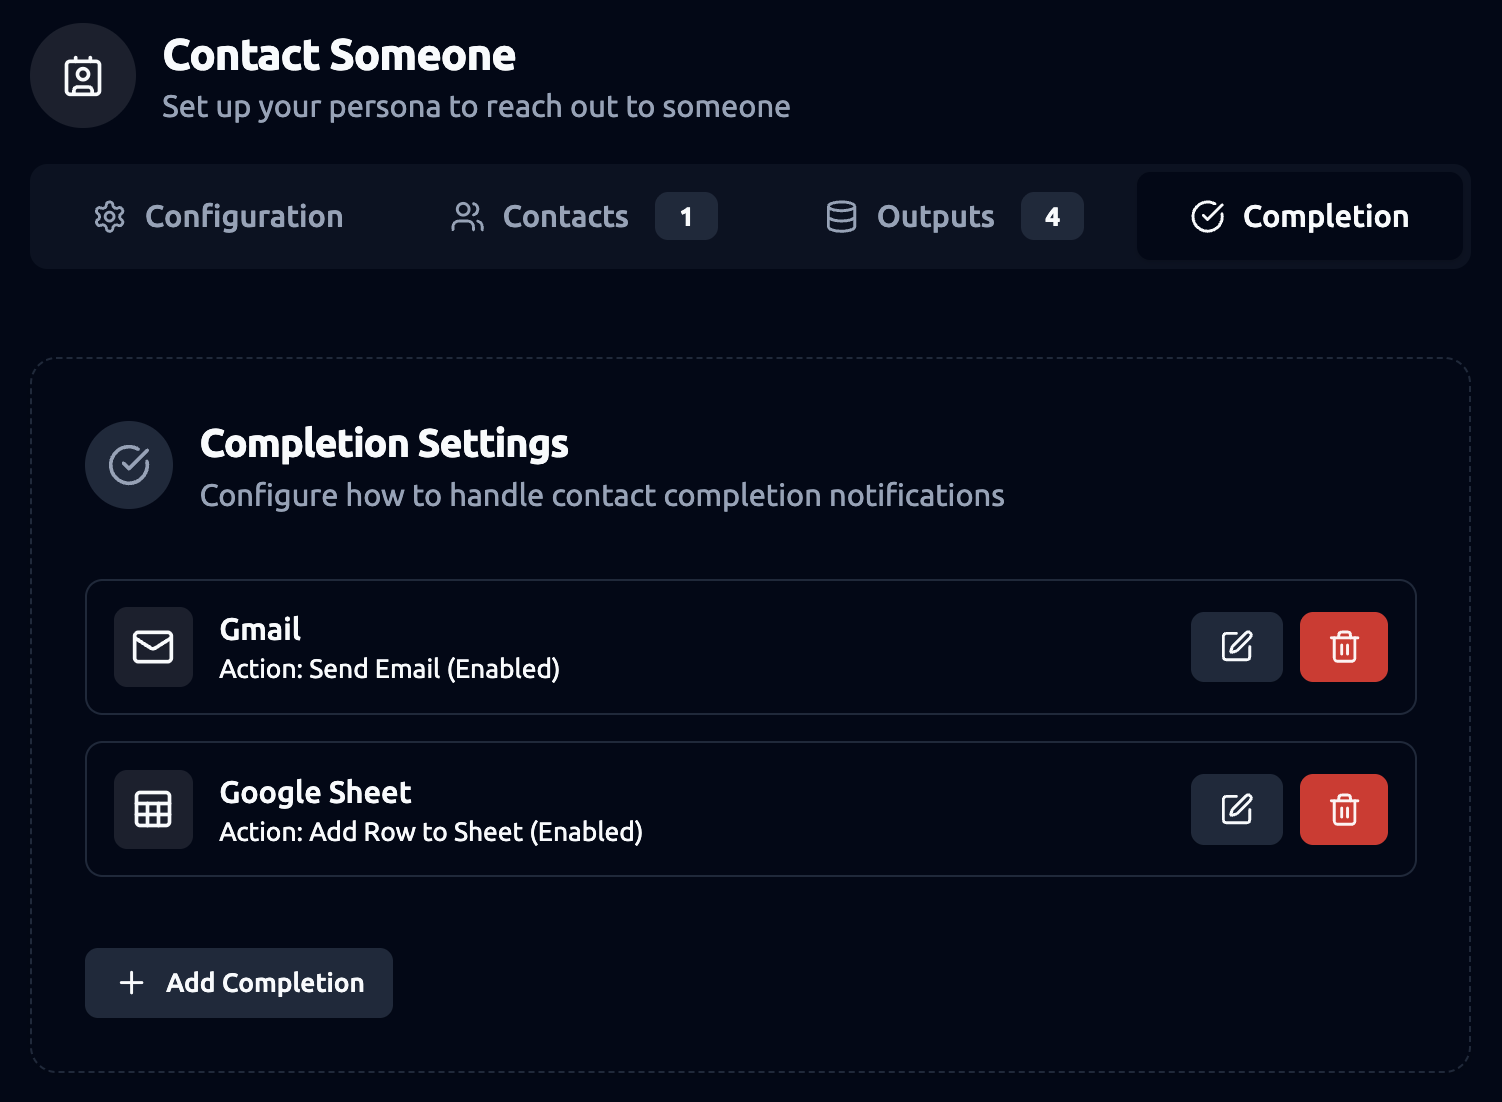
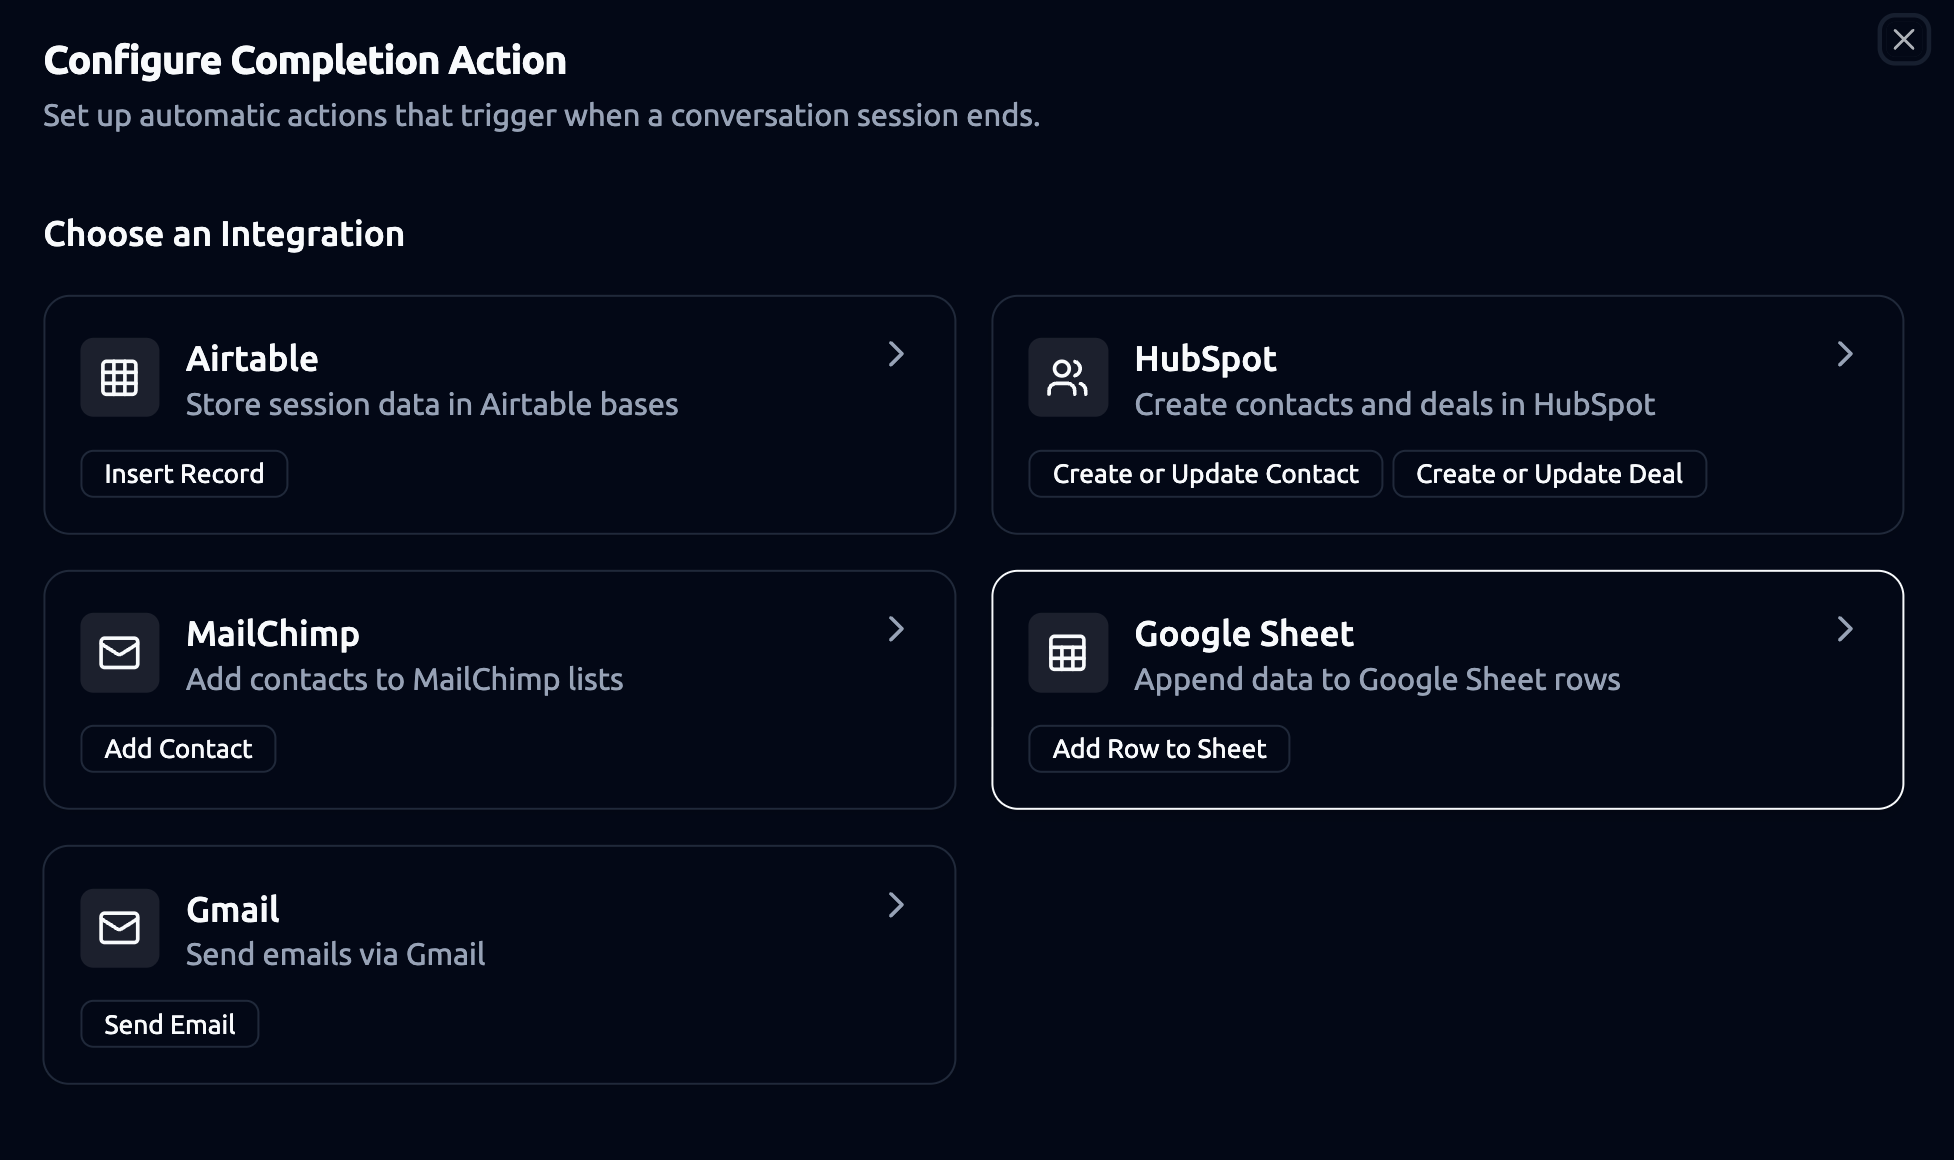
Available Integrations:
- Gmail - Send an email.
- Google Sheets - Add a row with contact results.
- Airtable - Insert session data.
- HubSpot - Create or update contacts or deals.
- MailChimp - Add users to mailing lists.
How it works:
- Select an integration (e.g., Google Sheets).
- Define the action (e.g., “Add Row”).
- Map outputs (like “name” or “preferred date”) to fields in the integration.